こんにちは、 id:eitoball です。
この記事は、Misoca Advent Calendar 2017 の15日目の記事です。
Rails 5.2 は、beta1 と beta2 が出てきて、正式なリリースも近々のようですね。皆さん、更新の準備はできていますでしょうか?今回は、Rails 5.2 の 目玉機能の一つである Active Storage を試してみようと思います。
Active Storage とは?
Active Storage is coming to Rails 5.2: A brand-new framework for managing cloud and local files in Rails. Overdue! https://t.co/BFF4kWesT6
— DHH (@dhh) July 6, 2017
Active Storage makes it simple to upload and reference files in cloud services like Amazon S3, Google Cloud Storage, or Microsoft Azure Storage, and attach those files to Active Records. Supports having one main service and mirrors in other services for redundancy. It also provides a disk service for testing or local deployments, but the focus is on cloud storage.
Active Storage は、AWS S3 や Google Cloud Storage などクラウドストレージサービスへのファイルをアップロードをするための機能です。 carrierwave や paperclip といった gem と同じような機能を提供します。 Rails 標準なので、モデルとの連携がシームレスに行うことができるのが特徴だと思います。
Active Storage を試してみる
今回は、Active Storage プロジェクトの README.md に記載されているように User モデルに avatar という属性でファイルを添付するようにしていきます。添付したファイルは、 AWS S3 に保存するように設定したいと思います。
Rails アプリケーションの作成
はじめに rails gem (5.2.0.beta2) を追加します。今回は、せっかくなので、2017年12月25日にリリース予定の ruby 2.5.0dev を使用します。
$ ruby -v
ruby 2.5.0dev (2017-12-14 trunk 61215) [x86_64-darwin16]
$ gem install rails -v 5.2.0.beta2
…
Fetching: rails-5.2.0.beta2.gem (100%)
Successfully installed rails-5.2.0.beta2
28 gems installed
サンプルのアプリケーションを作成します。Rails 5.1 からの更新を想定したいので、--skip-active-storage で、後から、Active Storage を追加するようにします。*1
$ rails new --skip-active-storage -S --webpack=vue sample-application
…
* bin/rake: spring inserted
* bin/rails: spring inserted
作成したアプリケーション内に移動して、Active Storage をインストールします。config/application.rb 内で、 require "active_storage/engine" の行がコメントアウトされているので、コメントを外して、bin/rails active_storage:install を実行します。
$ cd sample-application
$ nvim config/application.rb
...
$ bin/rails active_storage:install
Copied migration 20171214014543_create_active_storage_tables.active_storage.rb from active_storage
データベースを作成して、マイグレーションを実行します。
$ bin/rails db:create db:migrate
Created database 'db/development.sqlite3'
Created database 'db/test.sqlite3'
== 20171214014543 CreateActiveStorageTables: migrating ========================
-- create_table(:active_storage_blobs)
   -> 0.0013s
-- create_table(:active_storage_attachments)
   -> 0.0014s
== 20171214004543 CreateActiveStorageTables: migrated (0.0028s) ===============
active_storage_blobs と active_storage_attachments というテーブルが作成されました。これらのテーブルにファイルのメタ情報などが記録されるようですね。
開発用サーバーを実行して、アプリケーションが動作することを確認します。
$ bin/rails server -b 0.0.0.0
ブラウザで、http://localhost:3000/ にアクセスして、”Yay! You’re on Rails!” と表示されていれば、インストールが成功しています。確認できたらサーバーは停止しておきます。
ユーザーモデルの作成
User モデルと関連するコントローラやビューを scaffold を使って作成します。あと、マイグレーションを実行します。
$ bin/rails generate scaffold user name:string address:string
      invoke  active_record
…
      create    app/assets/stylesheets/scaffold.css
$ bin/rails db:migrate
app/models/user.rb を編集して avatar 属性(has_one_attached :avatar)を追加します。
class User < ApplicationRecord
  has_one_attached :avatar
end
新しく追加した avatar 属性を表示したり保存したりできるようにします。
app/views/users/show.html.erb には、13行目あたりに次の行を追加します。
<% if @user.avatar.attached? %>
  <p>
    <strong>Avatar:</strong>
    <%= image_tag url_for(@user.avatar) %>
  </p>
<% end %>
app/views/users/_form.html.erb には、24行目あたりに次の行を追加します。
<div class="field">
  <%= form.label :avatar %>
  <%= form.file_field :avatar %>
</div>
最後に app/controllers/users_controller.rb では、72行目あたりを以下のように :avatar を追加します。
def user_params
  # params.require(:user).permit(:name, :address)
  params.require(:user).permit(:name, :address, :avatar)
end
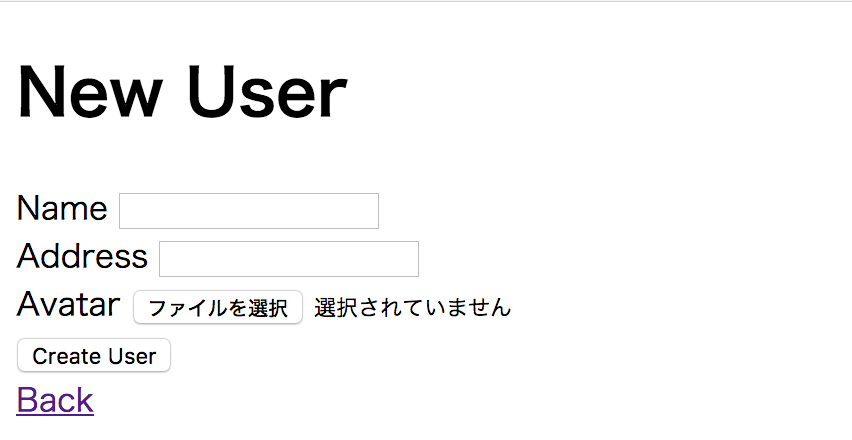
開発用サーバーを立ち上げて、http://localhost:3000/users/new にアクセスして avatar のフィールドが追加されていることを確認してください。

AWS S3 サービスの設定
ファイルを AWS S3 へアップロードするための設定を行います。Rails 5.2 では、秘密にしたい設定情報を暗号化することができるようになりました。AWS の認証情報はその機能を使って保存します。
bin/rails credentials:show で config/credentials.yml.enc 内に保存されている情報を見ることができます。
$ bin/rails credentials:show
# aws:
#  access_key_id: 123
#  secret_access_key: 345

# Used as the base secret for all MessageVerifiers in Rails, including the one protecting cookies.
secret_key_base: abc123
bin/rails credential:edit で編集します。aws: からの部分のコメントを外して、AWS のアクセスキーIDとシークレットアクセスキーを記載します。EDITOR で Emacs や Vim などをコンソールベースのエディタを指定して編集して下さい。
$ EDITOR=nvim bin/rails credentials:edit
…
$ bin/rails credentials:show
aws:
  access_key_id: 123
  secret_access_key: 345

# Used as the base secret for all MessageVerifiers in Rails, including the one protecting cookies.
secret_key_base: abc123
Active Storage のストレージの設定は config/storage.yml に記載します。ここに AWS S3 の情報を追加します。amazon: からの行をコメントアウトして region と bucket を適宜修正して下さい。
$ nvim config/storage.yml
…
$ cat config/storage.yml
…
amazon:
  service: S3
  access_key_id: <%= Rails.application.credentials.dig(:aws, :access_key_id) %>
  secret_access_key: <%= Rails.application.credentials.dig(:aws, :secret_access_key) %>
  region: us-east-1
  bucket: active_storage-test
…
そして、 config/environments/development.rb を編集して、開発環境で、AWS S3 ストレージを使うようにします。
$ nvim config/environments/development.rb
…
$ cat config/environments/development.rb
…
  # Store uploaded files on the local file system (see config/storage.yml for options)
  config.active_storage.service = :amazon
…
最後に aws-sdk-s3 gem を Gemfile に追加して、bundle install します。
$ nvim Gemfile
…
gem ‘aws-sdk-s3’
$ bundle install
…
開発用サーバーを起動して、http://localhost:3000/users/new にアクセスして実際にユーザーを作成して画像をアップロードします。
$ bin/rails server -b 0.0.0.0
=> Booting Puma
…
Use Ctrl-C to stop

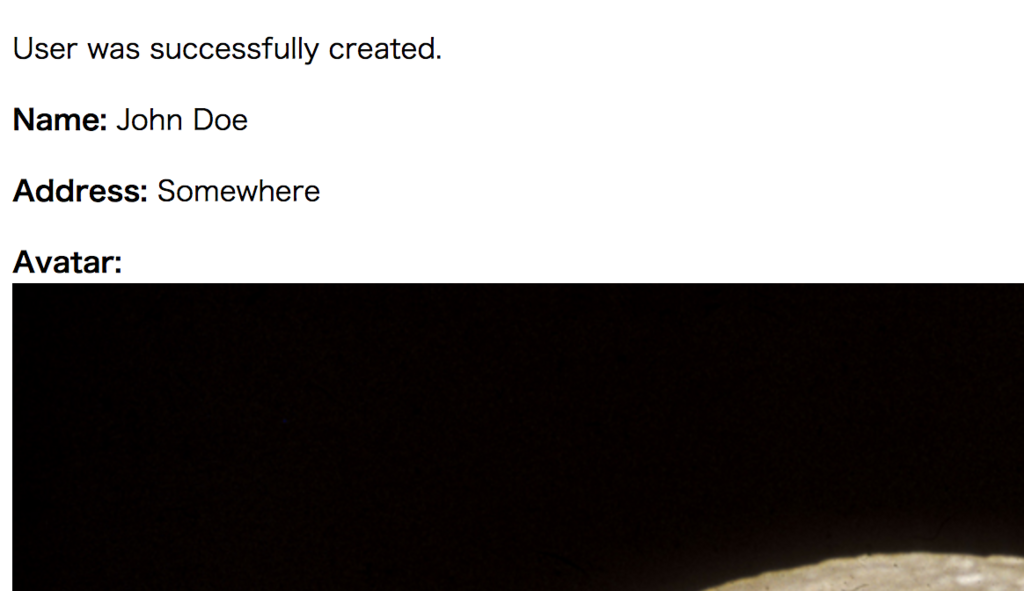
大きい画像をアップロードするとこのようになってしまいます。ですので、縮小できるようにします。
app/views/users/show.html.erb の avatar 画像を表示している部分を変更します。
<% if @user.avatar.attached? %>
  <p>
    <strong>Avatar:</strong>
    <%= image_tag url_for(@user.avatar.variant(resize: '128x128') %>
  </p>
<% end %>
#variant には他にも色々な変換ができるようです。詳しくは、https://github.com/rails/rails/blob/master/activestorage/app/models/active_storage/variant.rb を参照して下さい。
Gemfile を編集して、 mini_magick を追加して、bundle install します。*2
$ nvim Gemfile
…
gem ‘mini_magick'
$ bundle install
…
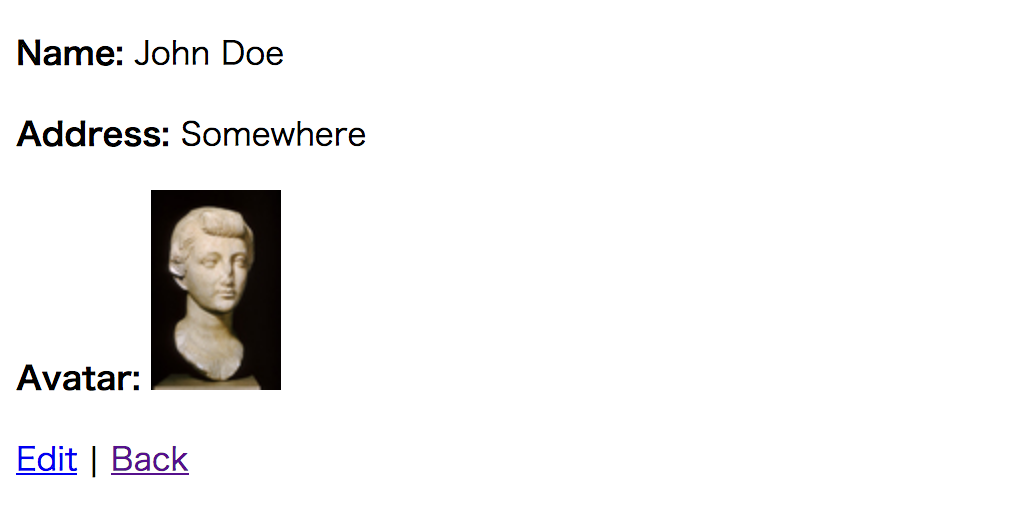
サーバーを再起動して、 http://localhost:3000/users/1 (1 の部分は、先ほど作成したユーザーのIDです)にアクセスすると画像が縮小されていることがわかります。

さいごに
今回は、近々リリース予定の Rails 5.2 での新しく導入される Active Storage を使って、ファイルを AWS S3 へアップロードするようにしてみました。今回は試していませんが、Google Cloud Storage などの他のクラウドストレージサービスやローカルファイルシステムにもアップロードしたりもできます。また、複数とストレージに同時に保存(mirroring)もできるようです。また、画像以外にも動画やPDFを扱うこともできるようです。
正式にリリースされていないため文書などが少なく、 carrierwave や paperclip と比べると機能はまだ少なく導入・移行は大変そうです。しかしながら、Rails の他の機能とシームレスに連携できるのは、とても魅力的だと思います。
明日、16日目は、merotan ( @renyamizuno_ ) が、HTML と CSS を使って究極の何かを作ったことについて語ってくれるそうです。
*1:webpacker を使っているので yarn が必要です。
*2:別途、ImageMagick をインストールしておく必要があります。